웹 프로그래밍 공부에 대한 기록 - 2
- 기본 예제 3-7 : 시간표 만들기
<!DOCTYPE html>

<html lang="en" xmlns="http://www.w3.org/1999/xhtml">
<head>
    <meta charset="utf-8" />
    <title></title>
</head>

<body>
    <table border="1">
        <thread>
            <tr>
                <th></th>
                <th>월</th>
                <th>화</th>
                <th>수</th>
                <th>목</th>
                <th>금</th>
            </tr>
        </thread>
        <tbody>
            <tr>
                <td>1교시</td>
                <td>영어</td>
                <td>국어</td>
                <td>과학</td>
                <td>미술</td>
                <td>기술</td>
            </tr>
            <tr>
                <td>2교시</td>
                <td>도덕</td>
                <td>체육</td>
                <td>영어</td>
                <td>수학</td>
                <td>사회</td>
            </tr>
        </tbody>
    </table>
</body>
- table border = "1" : 표의 테두리 두께 1로 지정한다.

| 태그 | 속성 | 설명 |
| table | border | 표의 테두리 두께 지정 |
| th, td | colspan | 셀의 너비 지정 |
| rowspan | 셀의 높이 지정 |
위와 같은 태그를 사용하여 작성할 표를 설정할 수 있다.
- 기본 예제 3-8 : 행열 병합 표 생성
<!DOCTYPE html>

<html lang="en" xmlns="http://www.w3.org/1999/xhtml">
<head>
    <meta charset="utf-8" />
    <title></title>
</head>

<body>
    <table border="1">
        <tr>
            <th colspan="2">지역별 홍차</th>
        </tr>
        <tr>
            <th rowspan="3">중국</th>
            <td>정산소종</td>
        </tr>
        <tr><td>기문</td></tr>
        <tr><td>운남</td></tr>
        <tr>
            <th rowspan="4">인도 및 스리랑카</th>
            <td>아삼</td>
        </tr>
        <tr><td>실론</td></tr>
        <tr><td>다질링</td></tr>
        <tr><td>닐기리</td></tr>
    </table>
</body>
- 기본 예제 3-9 : 멀티미디어(이미지) 삽입
<!DOCTYPE html>

<html lang="en" xmlns="http://www.w3.org/1999/xhtml">
<head>
    <meta charset="utf-8" />
    <title></title>
</head>

<body>
   <img src="image.jpg" alt="하늘" width="300" />
    <img src="Nothing" alt="그림이 존재하지 않습니다." width="300" />
</body>
- src = "image.jpg" : 웹에 있는 이미지의 경로를 삽입하여도 가능하다.

- 기본 예제 3-9 : 멀티미디어(비디오) 삽입
<!DOCTYPE html>

<html lang="en" xmlns="http://www.w3.org/1999/xhtml">
<head>
    <meta charset="utf-8" />
    <title></title>
</head>

<body>
    <video controls="controls">
        <source src="video.mp4" type="video/mp4" />
        <source src="Wildlife.webm" type="video/webm" />
    </video>
</body>
- 멀티미디어를 삽입하기 위해서는, 준비 파일을 HTML 페이지와 같은 폴더에 넣은 상태여야 한다.

- 4. 데이터 전달 방식
<!DOCTYPE html>
<html lang="en" xmlns="http://www.w3.org/1999/xhtml">
<head>
<meta charset="utf-8" />
<title></title>
</head>
<body>
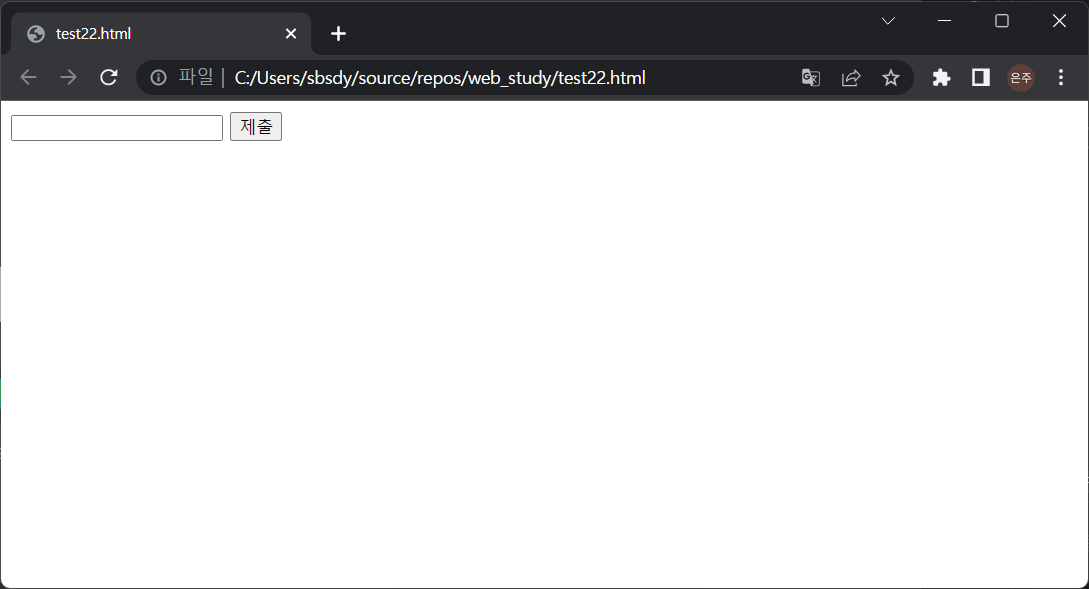
<form>
<input type="text" name="search" />
<input type="submit" />
</form>
</body>- <input> 태그의 type 속성을 이용하여 다양한 기본 입력 양식을 생성한다.
<!DOCTYPE html>

<html lang="en" xmlns="http://www.w3.org/1999/xhtml">
<head>
    <meta charset="utf-8" />
    <title></title>
</head>

<!--GET 전송 방식-->
<body>
    <form method="get">
        <input type="text" name="search" />
        <input type="submit" />
    </form>
</body>


<!--POST 전송 방식-->
<body>
    <form method="post">
        <input type="text" name="search" />
        <input type="submit" />
    </form>
</body>
- GET 방식 : 주소에 데이터를 입력하여 전달한다.
- POST 방식 : 주소 변경 없이 비밀스럽게 데이터를 전달한다.
- 기본 예제 4-1 : 기본 입력 양식 태그
<!DOCTYPE html>

<html lang="en" xmlns="http://www.w3.org/1999/xhtml">
<head>
    <meta charset="utf-8" />
    <title></title>
</head>

<body>
    <form>
        <!--사용자가 입력하는 입력 양식-->
        <input type="text" name="text" value="text" /><br />
        <input type="poassword" name="password" value="password" /><br />
        <input type="file" name="file" value="file" /><br />
        <input type="checkbox" name="checkbox" value="checkbox" /><br />
        <input type="radio" name="radio" value="radio" /><br />

        <!--보이지 않는 입력 양식-->
        <input type="hidden" name="hidden" value="hidden" /><br />

        <!--버튼-->
        <input type="button" value="button" /><br />
        <input type="reset" value="reset" /><br />
        <input type="submit" value="submit" /><br />
        <input type="image" src="http://placehold.it/100x100" />

    </form>
</body>
- 기본 예제 4-2 : 간단한 입력 양식 생성
<!DOCTYPE html>

<html lang="en" xmlns="http://www.w3.org/1999/xhtml">
<head>
    <meta charset="utf-8" />
    <title></title>
</head>

<body>
    <form>
        <table>
            <tr>
                <td><label for="username">이름</label></td>
                <td><input id= ="username" type="text" name="username" /></td>
            </tr>
            <tr>
                <td>성별</td>
                <td>
                    <input id="mam" type="radio" name="gender" value="m" />
                    <label for="man">남자</label>
                    <input id="woman" type="radio" name="gender" value="w" />
                    <label for="woman">여자</label>
                </td>
            </tr>
        </table>
        <input type="submit" value="가입" />
    </form>
</body>
- 기본 예제 4-3 (1): 선택 가능한 입력 양식
<!DOCTYPE html>

<html lang="en" xmlns="http://www.w3.org/1999/xhtml">
<head>
    <meta charset="utf-8" />
    <title></title>
</head>

<body>
    <body>
        <select>
            <option>김밥</option>
            <option>떡볶이</option>
            <option>순대</option>
            <option>어묵</option>
        </select>
    </body>
</body>
- 기본 예제 4-3(2) : 선택 가능한 입력 양식
<!DOCTYPE html>

<html lang="en" xmlns="http://www.w3.org/1999/xhtml">
<head>
    <meta charset="utf-8" />
    <title></title>
</head>

<body>
    <body>
        <select multiple="multiple">
            <option>김밥</option>
            <option>떡볶이</option>
            <option>순대</option>
            <option>어묵</option>
        </select>
    </body>
</body>
- <select> 태그의 multipe 속성을 사용하여 여러 항목을 선택할 수 있다.

- 4-3(3) : 선택 가능한 입력 양식
<!DOCTYPE html>

<html lang="en" xmlns="http://www.w3.org/1999/xhtml">
<head>
    <meta charset="utf-8" />
    <title></title>
</head>

<body>
   <select>
       <optgroup label="HTML5">
           <option>Multimedia Tag</option>
           <option>Connectivity</option>
           <option>Device Access</option>
       </optgroup>
       <optgroup label="CSS3">
           <option>Animation</option>
           <option>3D Transform</option>
       </optgroup>
   </select>
</body>
- 선택 옵션 묶기 : <outgroup> 태그 사용

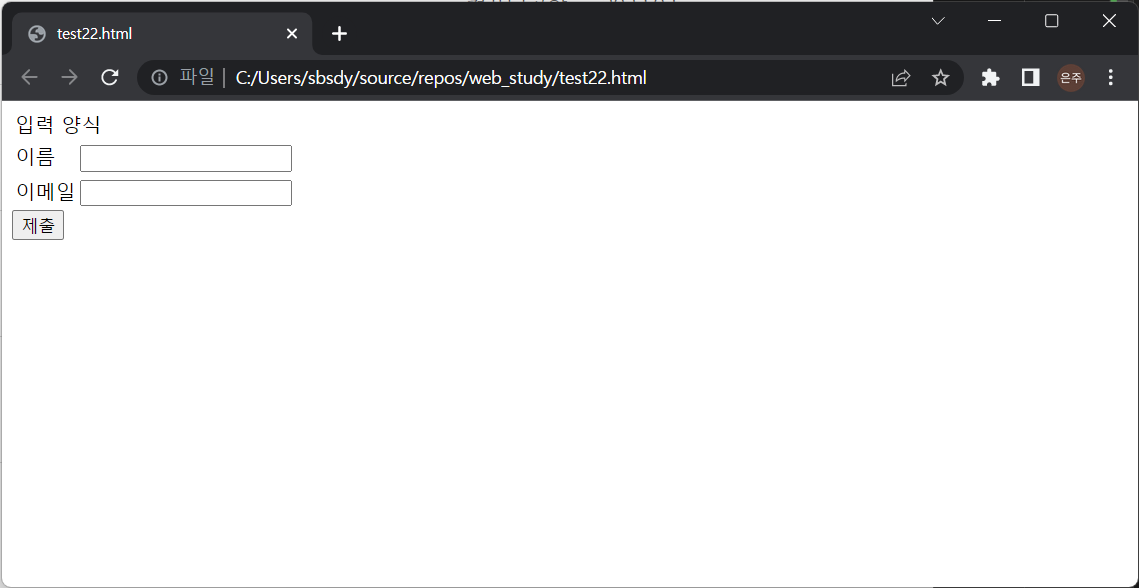
- 기본 예제 4-4 : 연관 있는 입력 양식 그룹으로 묶기
<!DOCTYPE html>

<html lang="en" xmlns="http://www.w3.org/1999/xhtml">
<head>
    <meta charset="utf-8" />
    <title></title>
</head>

<body>
    <form>
        <filedset>
            <legend>입력 양식</legend>
            <table>
                <tr>
                    <td><label for="name">이름</label></td>
                    <td><input id="name" type="text"/></td>
                </tr>
                <tr>
                    <td><tabel for="mail">이메일</tabel></td>
                    <td><input id="mail" type="email" /></td>
                </tr>
            </table>
            <input type="submit" />
        </filedset>
    </form>
</body>
- <fieldset>, <legend> 태그
- 기본 예제 4-6 : 시맨틱 태그를 이용한 레이아웃 구성
<!DOCTYPE html>

<html lang="en" xmlns="http://www.w3.org/1999/xhtml">
<head>
    <meta charset="utf-8" />
    <title></title>
</head>

<body>
    <header>
        <h1>HTML5 기본</h1>
    </header>
    <nav>
        <ul>
            <li><a href="#">메뉴 - 1</a></li>
            <li><a href="#">메뉴 - 2</a></li>
            <li><a href="#">메뉴 - 3</a></li>
        </ul>
    </nav>
    <section>
        <article>
            <h1>Lorem ipsum dolor sit amet</h1>
            <p>Lorem ipsum dolor sit amet, consectetur adipiscing elit.</p>
        </article>
    </section>
    <footer>
        <address>서울특별시 강서구 마곡동</address>
    </footer>
</body>
'공부 > 웹프로그래밍' 카테고리의 다른 글
| [자바스크립트] 혼자 공부하는 자바스크립트 chapter 01 ~ chpater 05 (0) | 2023.06.20 |
|---|---|
| [JavaScript] 생활코딩 03~07 실습 (0) | 2023.06.11 |
| [웹프로그래밍] HTML/CSS 웹 프로그래밍 - 4 (0) | 2023.05.31 |
| [웹프로그래밍] HTML/CSS 웹 프로그래밍 - 3 (0) | 2023.05.21 |
| [웹프로그래밍] 웹 페이지 HTML5 구조와 작성 (1) | 2023.05.05 |


